If your company is just getting started to use Cyclops, you may have to create a workspace for the company. Alternatively, you might have already join an existing workspace of your company, but you would like to create additional workspaces for other business units. In this passage, we will walk you through the methods to create a workspace.
Scenario 1: Create a workspace during onboarding
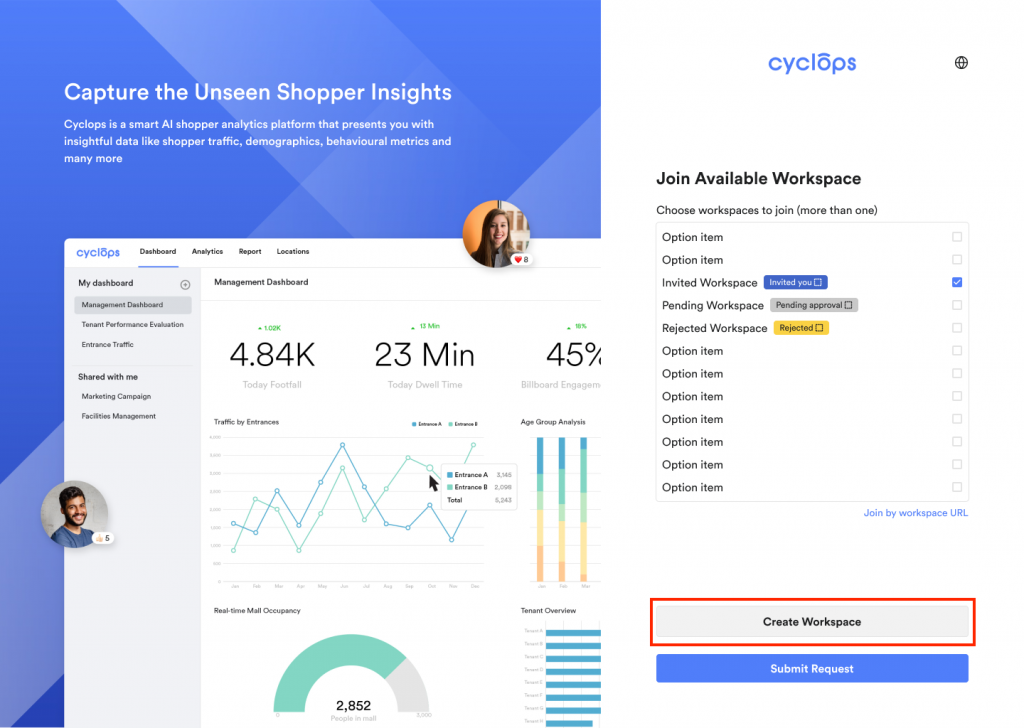
Step 1: Click “Create Workspace” in the Join Available Workspace page (reached after phone & email verification)
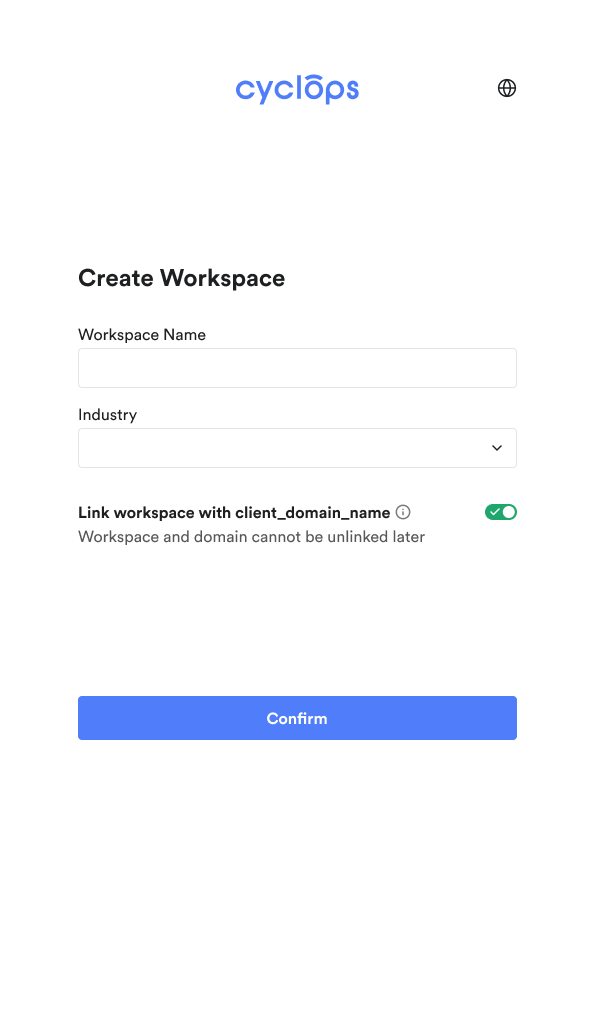
Step 2: Set up workspace name and claim workspace domain
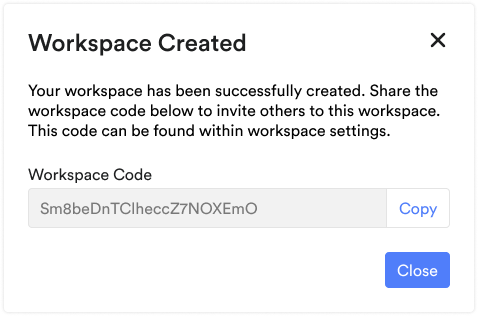
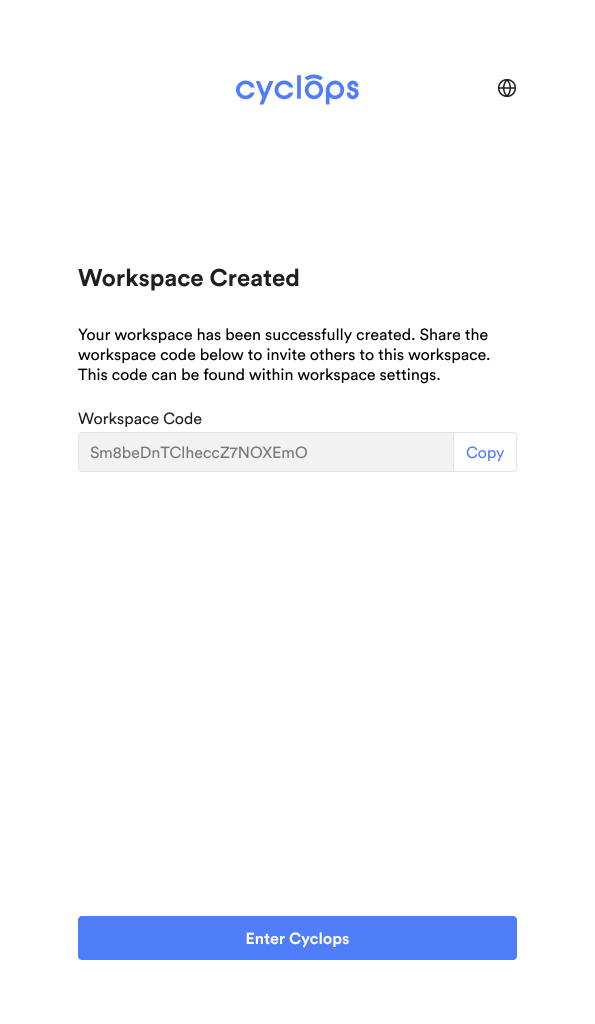
Step 3: Copy your workspace code
You may also copy the workspace code in the workspace settings page in Cyclops.
Scenario 2: Create a workspace after onboarding
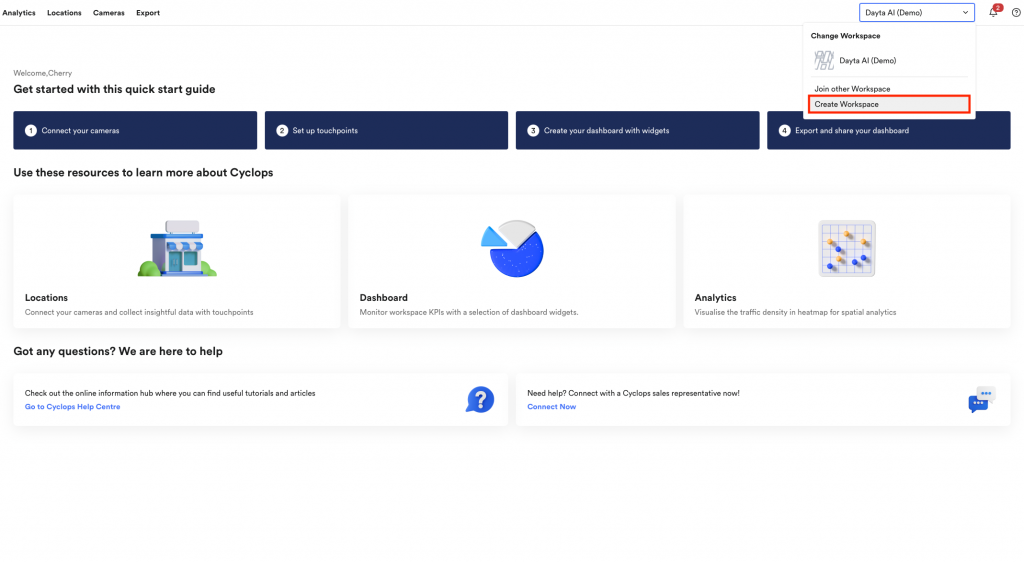
Step 1: Click “Create Workspace” in the workspace dropdown menu at the top navigation bar.
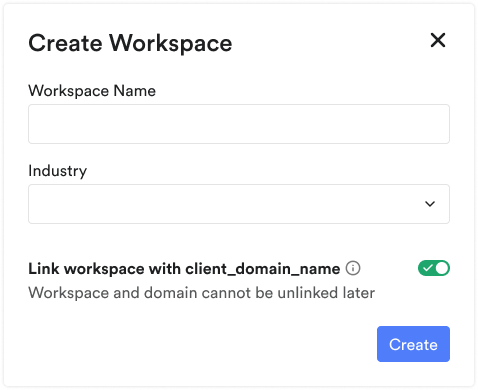
Step 2: Set up workspace name and claim workspace domain
Step 3: Copy Workspace Code