1. Home
  2. Cameras
  3. How to add a camera on Cyclops?

How to add a camera on Cyclops?

Cyclops utilises cameras to capture raw data in the location, so connecting your cameras to Cyclops is the second step to enable data collection.

To add a camera, please follow the steps below.

Before you set up your cameras, you should make sure that you have sufficient licenses.


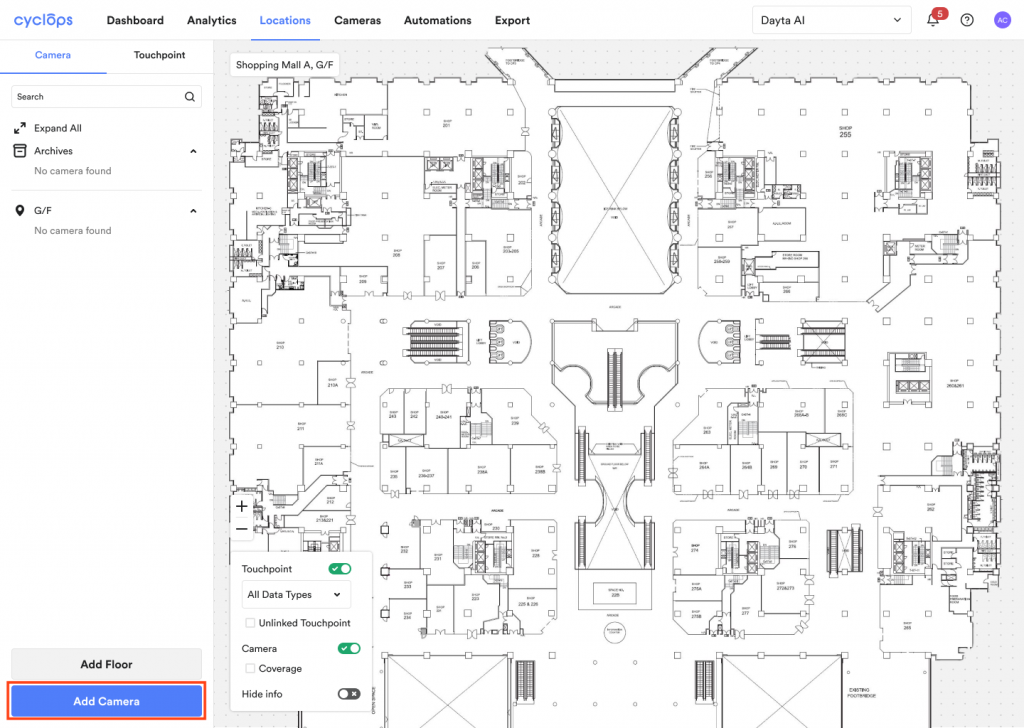
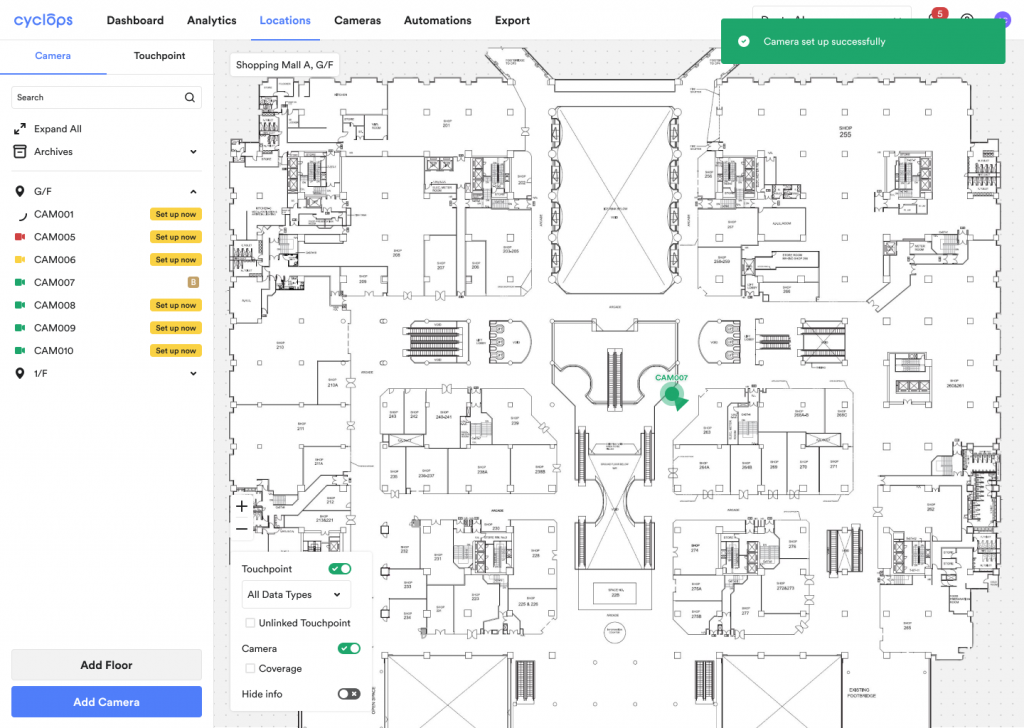
Step 1: Inside a Location, click [Add Camera] in the Camera Panel


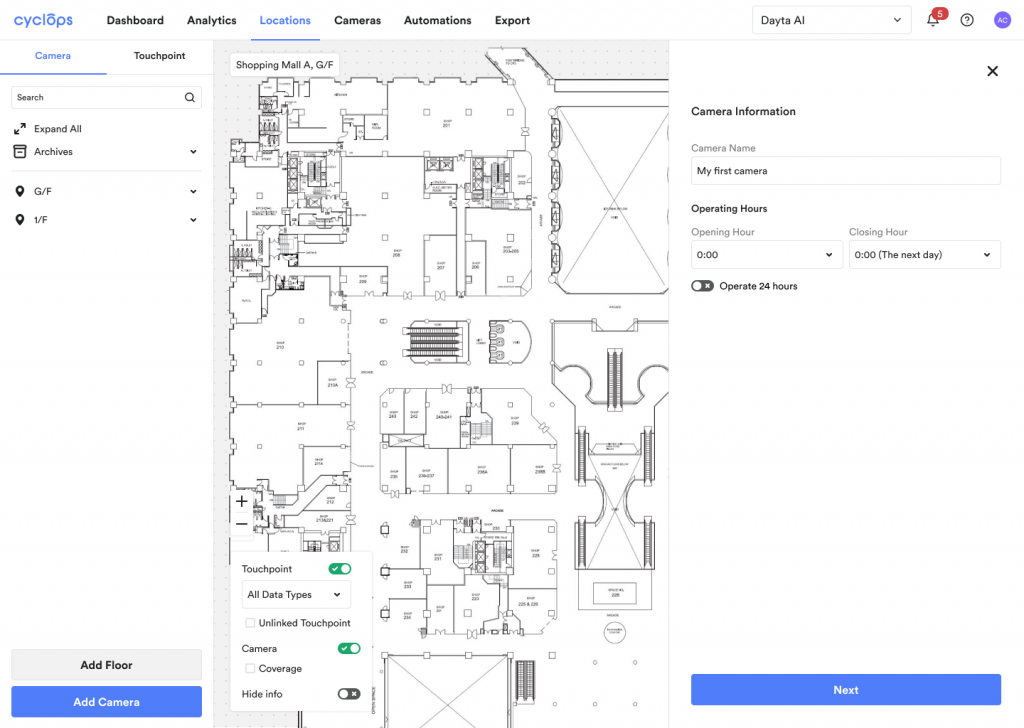
Step 2: Input your camera information

Setting up operating hours allows Cyclops to efficiently collect data during specific time periods, avoiding unnecessary data collection during irrelevant times.


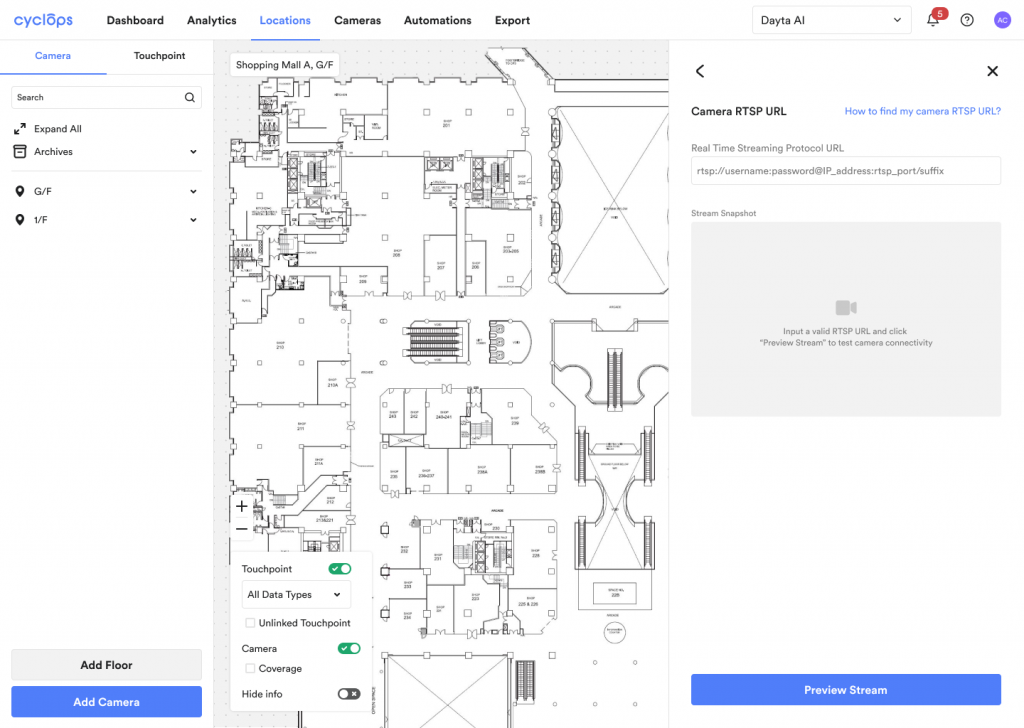
Step 3: Input the Camera RTSP URL to obtain the stream snapshot.

After connecting the RTSP URL, it takes some loading time for Cyclops to obtain the stream snapshot.

Step 4: Proceed to Complete Setup

You may choose to complete the camera set up later. A “set up later” tag will be assigned to the camera at the side panel as a reminder.


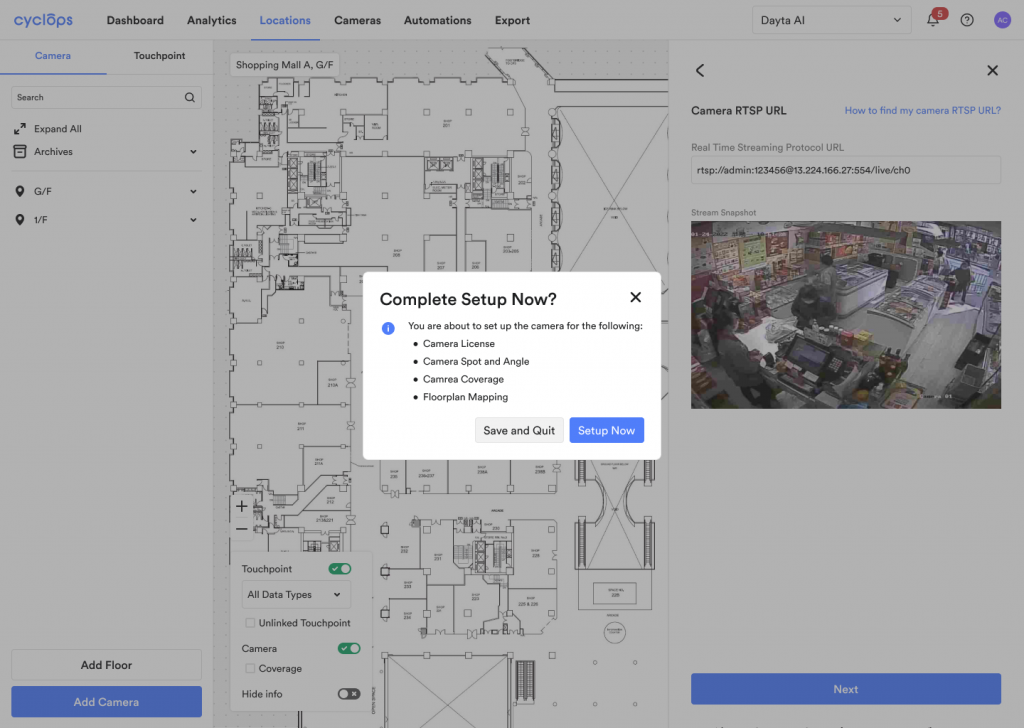
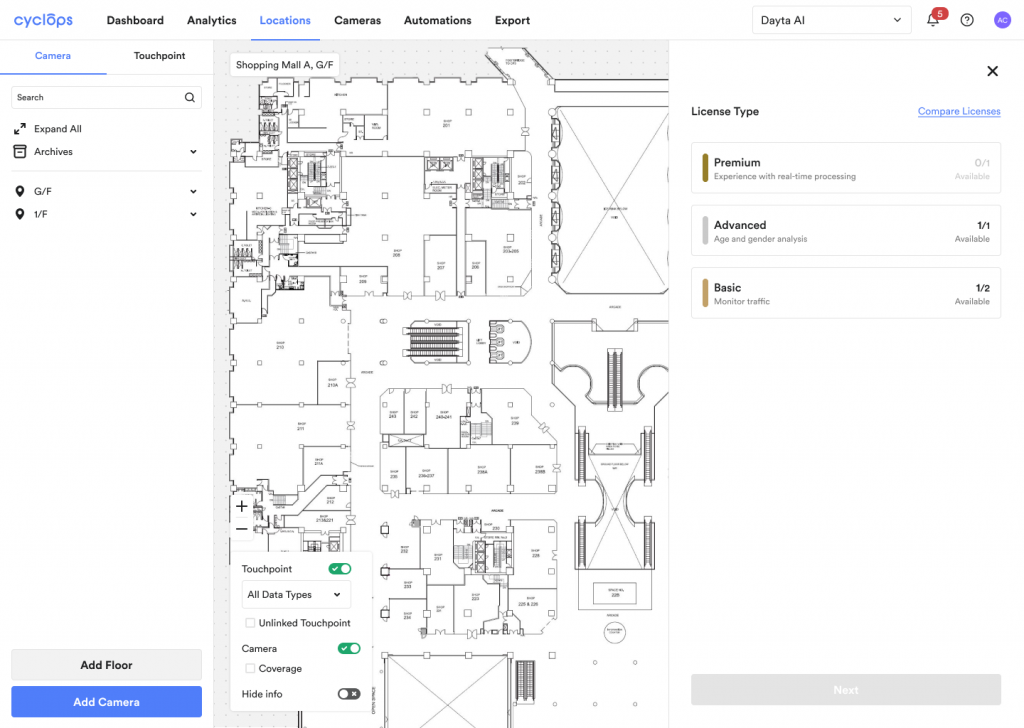
Step 5: Indicate Camera License Type


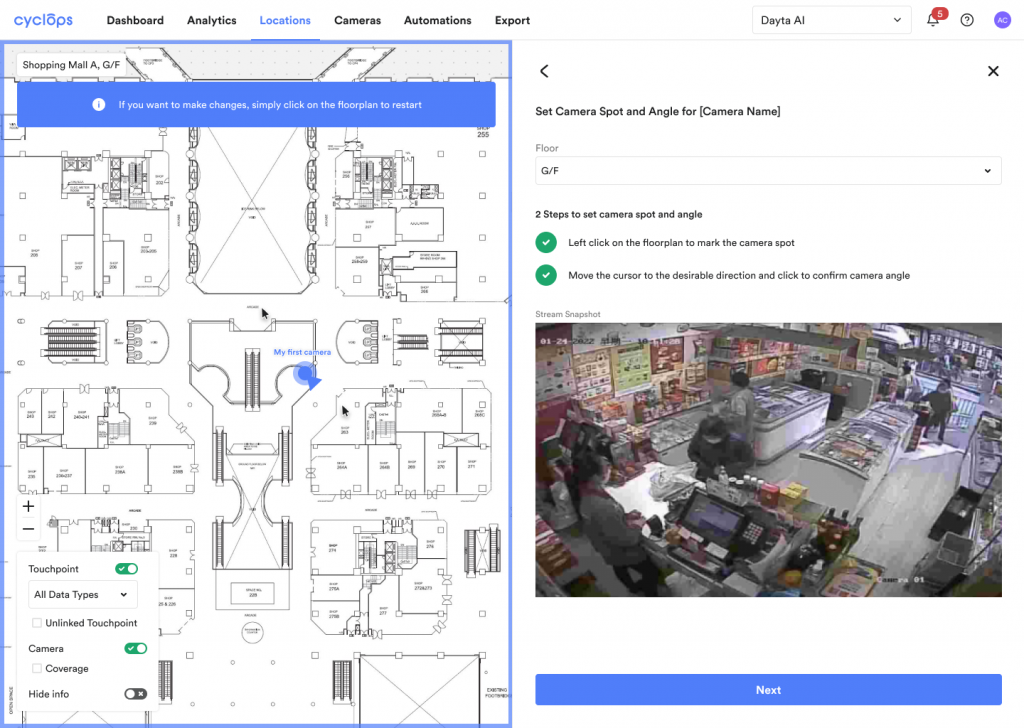
Step 6: Mark the camera position and angle on the floor plan.

Make sure you have selected the correct floor before marking the camera position. Left click to mark the camera position, then move your cursor to adjust its angle.

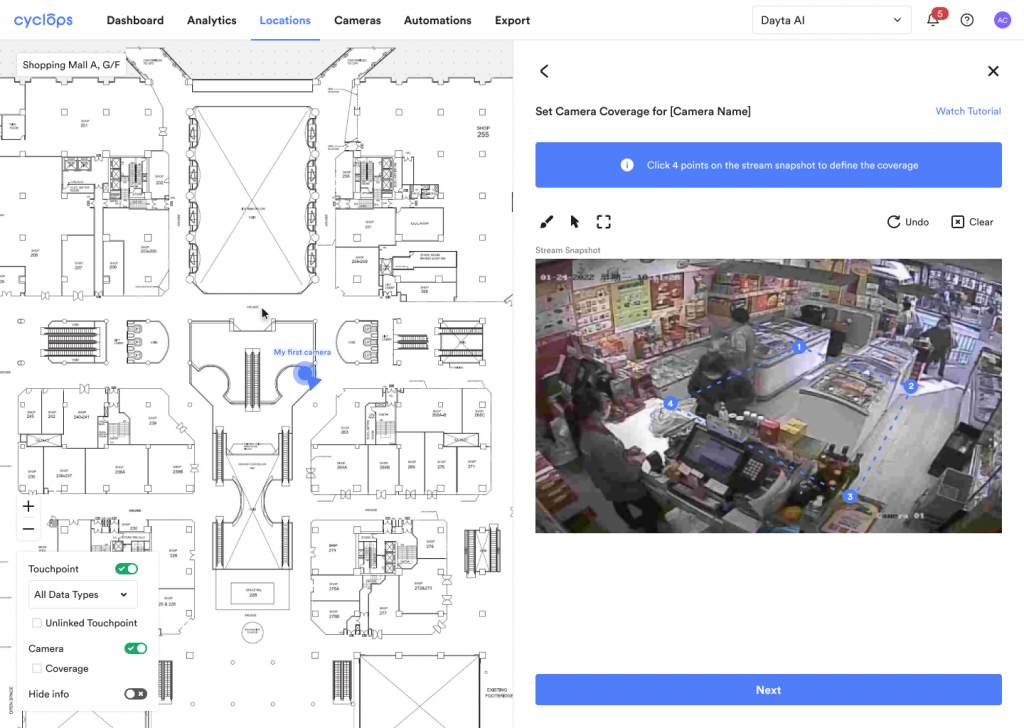
Step 7: Define the camera coverage on the stream snapshot.

Click 4 points on the stream snapshot to define the camera coverage.

Defining the camera coverage helps to ensure that the collected data is relevant to your analysis needs, filtering out irrelevant data points at unnecessary areas.


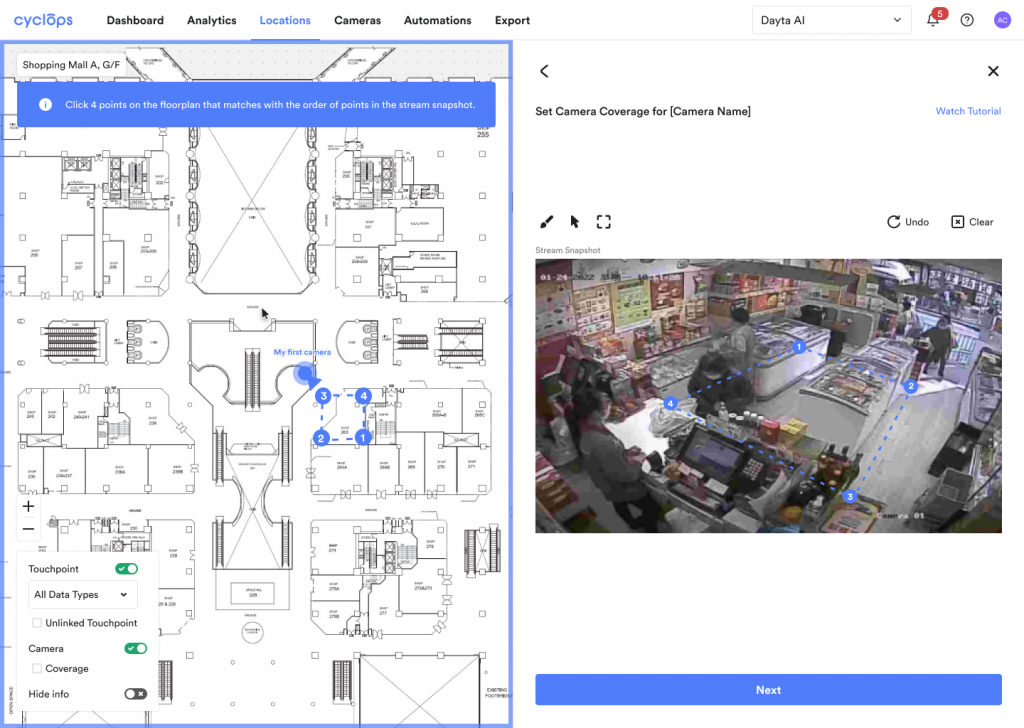
Step 8: Draw the camera coverage on the floor plan.

This provides you a visual representation of how the defined camera coverage aligns with the physical layout of the retail space. You may tick the camera coverage box at the left corner to view the coverages of all cameras on the floor plan.


Congratulations! You have completed the set up of a camera.

Previous Step:

Next Step:

Related Questions:

Updated on December 29, 2023

Was this article helpful?