If you have already configured the basic settings of your cameras earlier on, such as inputting the operating hours and RTSP URL, but have chosen not to proceed with the advanced setup, you can complete the setup at any time by following the steps below.
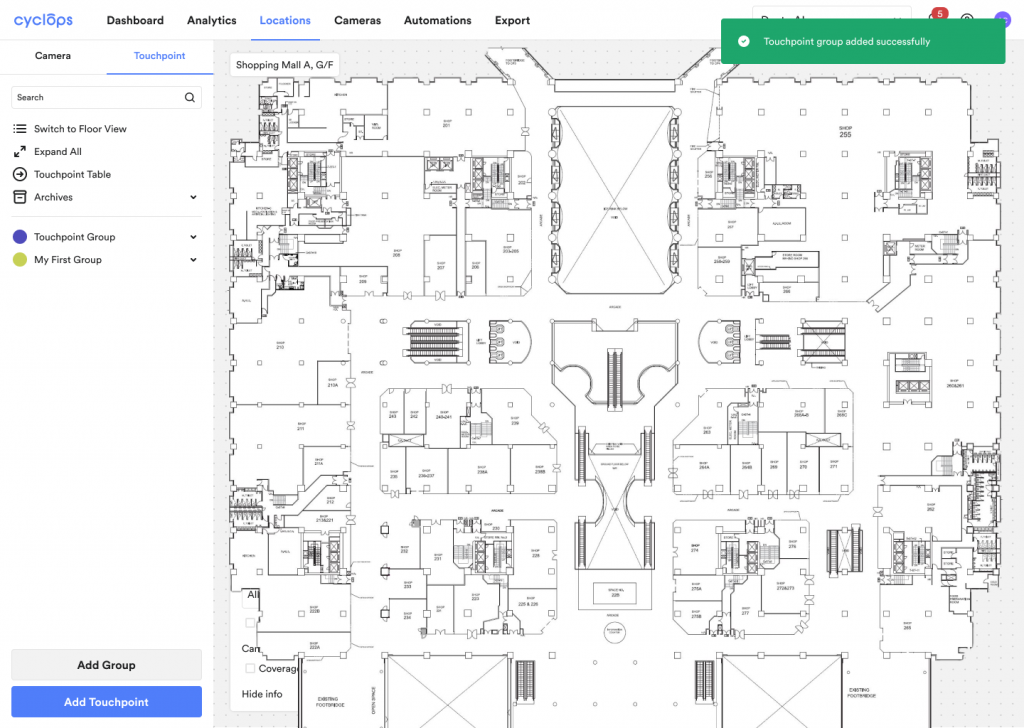
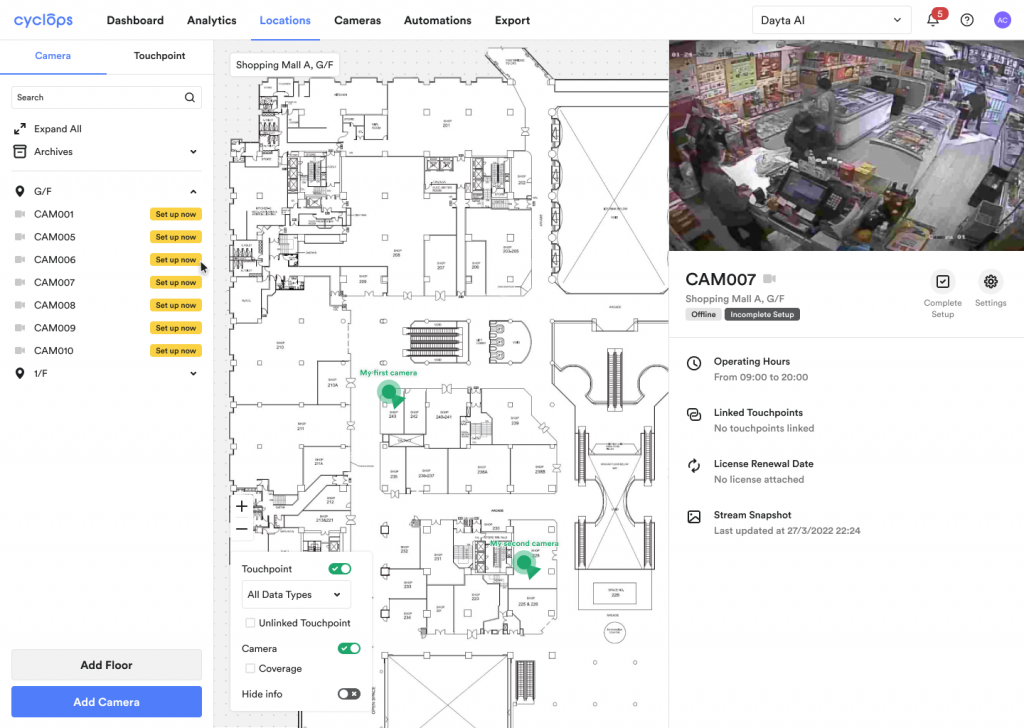
Step 1: In your locations, click the “Set Up Now” tag of your camera in the Camera panel
![](https://help.dayta.ai/wp-content/uploads/2023/11/Set-up-camera-created-through-batch-upload-1024x728.png)
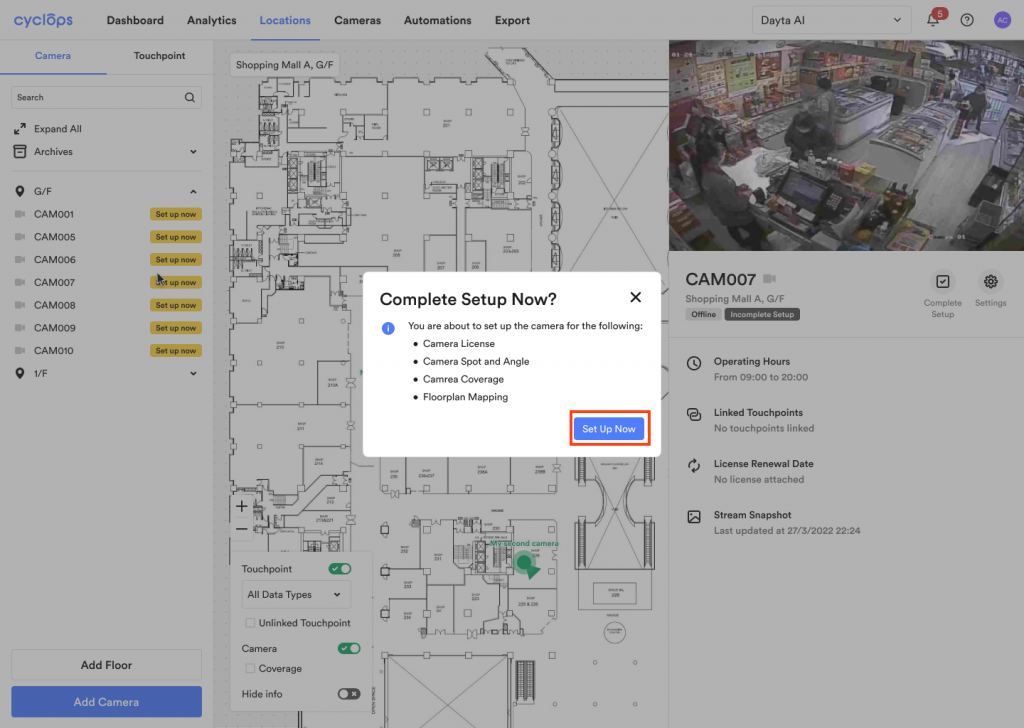
Step 2: Click [Set Up Now]
![](https://help.dayta.ai/wp-content/uploads/2023/11/Set-up-camera-created-through-batch-upload-_-Setup-now-pop-up-1024x728.png)
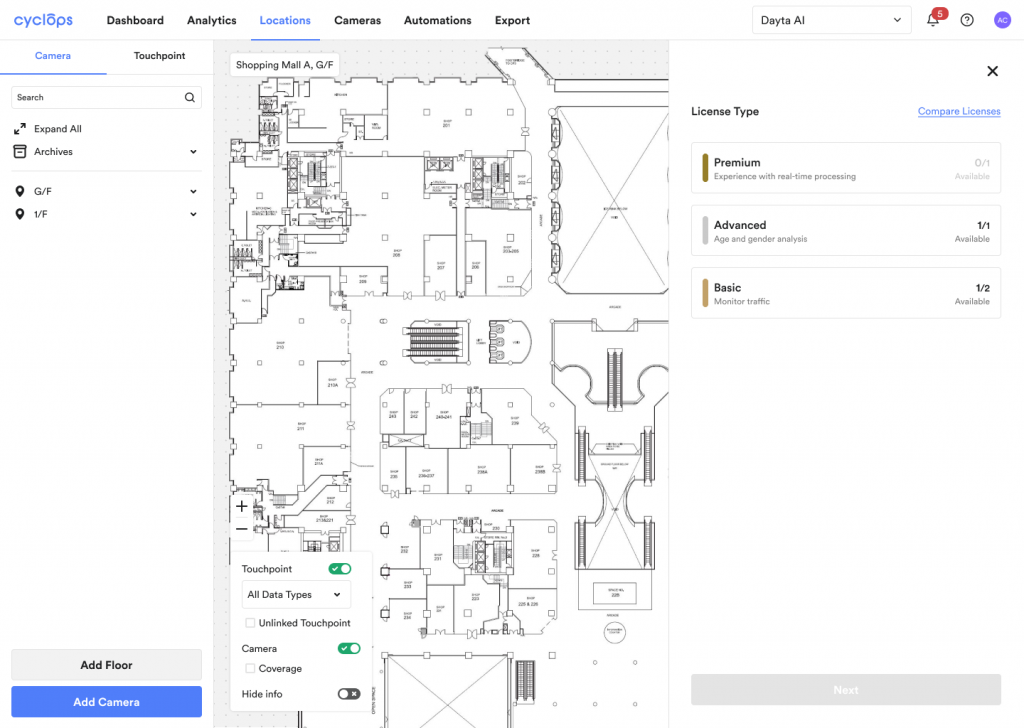
Step 3: Indicate Camera License Type
![](https://help.dayta.ai/wp-content/uploads/2023/11/Add-Single-Camera-_-Camera-Information-_-Select-License-1-1024x728.png)
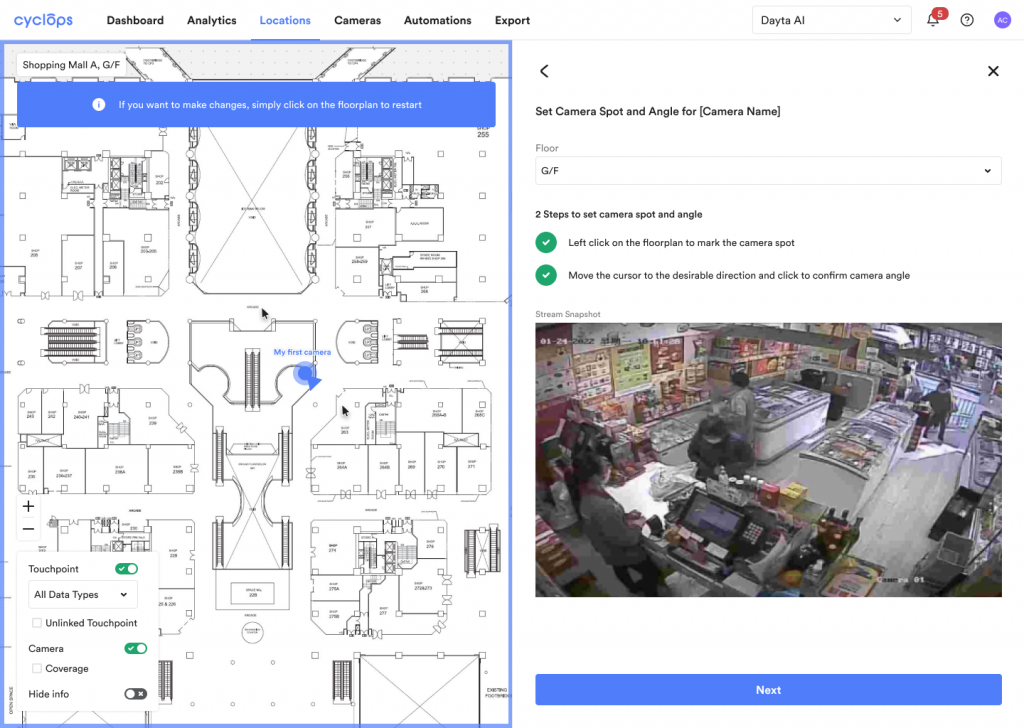
Step 4: Mark the camera position and angle on the floor plan.
![](https://help.dayta.ai/wp-content/uploads/2023/11/Add-Single-Camera-_-Camera-Information-_-Select-License-_-Connect-RTSP-_-Set-Camera-Spot-Angle-Second-Click-1-1024x728.png)
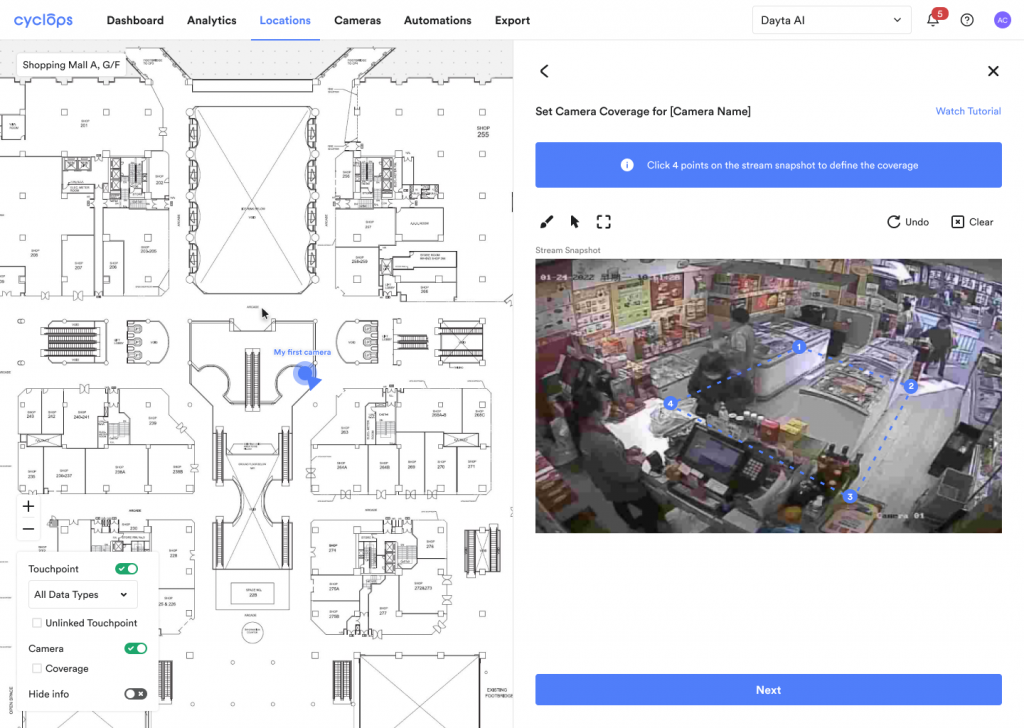
Step 5: Define the camera coverage on the stream snapshot.
![](https://help.dayta.ai/wp-content/uploads/2023/11/Add-Single-Camera-_-Camera-Information-_-Select-License-_-Connect-RTSP-_-Set-Camera-Spot-Angle-_-Set-Camera-Coverage-Snapshot-Zone-Defined-1-1024x728.png)
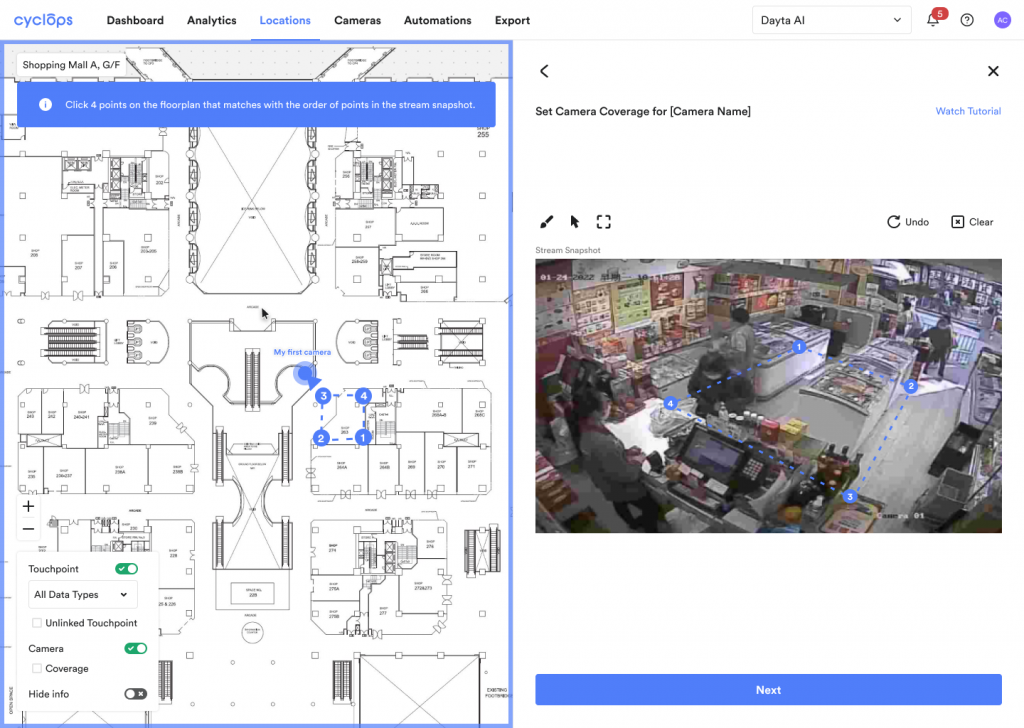
Step 6: Draw the camera coverage on the floor plan.
![](https://help.dayta.ai/wp-content/uploads/2023/11/Add-Single-Camera-_-Camera-Information-_-Select-License-_-Connect-RTSP-_-Set-Camera-Spot-Angle-_-Set-Camera-Coverage-Floorplan-Zone-Defined-1-1024x728.png)
Step 7: Done!
![](https://help.dayta.ai/wp-content/uploads/2023/11/Add-Touchpoint-Group-_-Pop-up-opened-_-Touchpoint-Group-Added-1-1024x728.png)