1. Home
  2. Locations
  3. How do I create a location in the Setup Wizard?

How do I create a location in the Setup Wizard?

Creating a store is normally the first thing you do in Cyclops to start the amazing journey, please follow the steps below. 

Before you create a store, we advise you to have the following things ready first.
1. Store information including store name, floorplan, opening hours
2. The zone(s) you wish Cyclops to analyse
3. The RTSP url of the camera that covers the zone(s)
4. The AI engines you wish to apply to the zone(s)


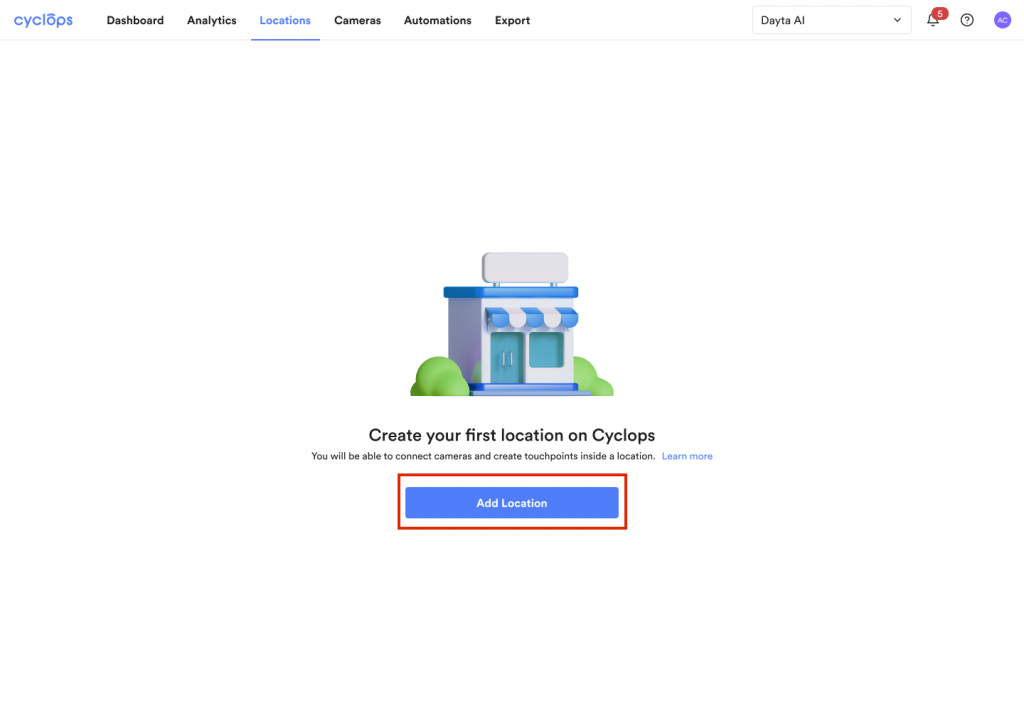
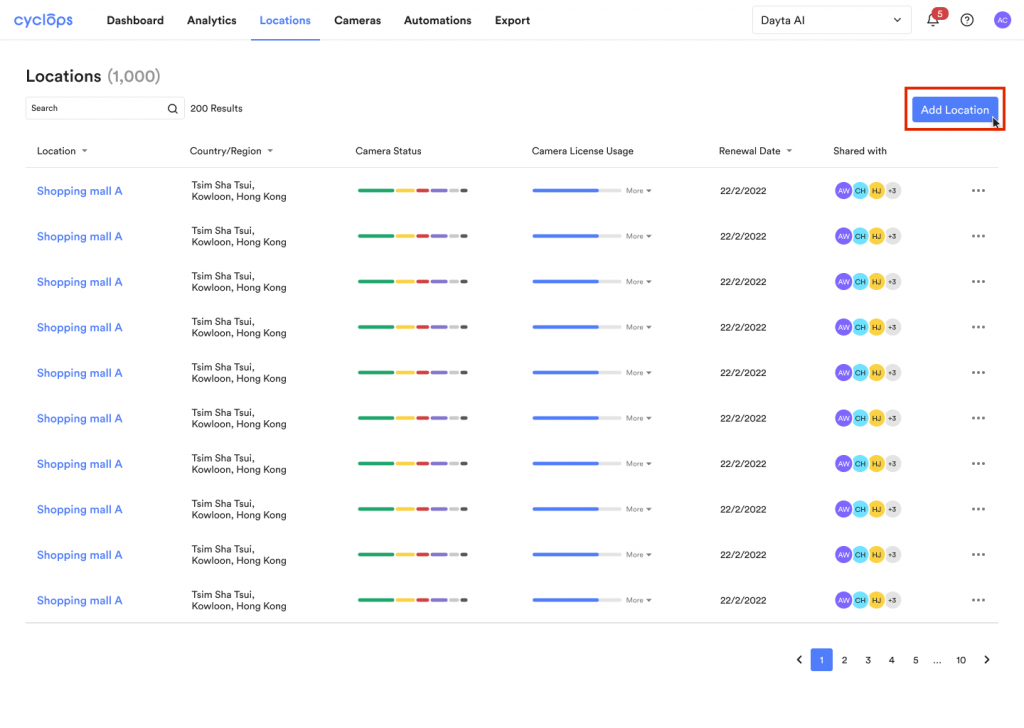
Step 1: There are 2 methods to land on the store setup wizard:

A. Click on the ‘+’ Create icon on the sidebar 

OR

B. Go to Stores > “Add Store” icon

Make sure you have enough camera licenses available before you proceed


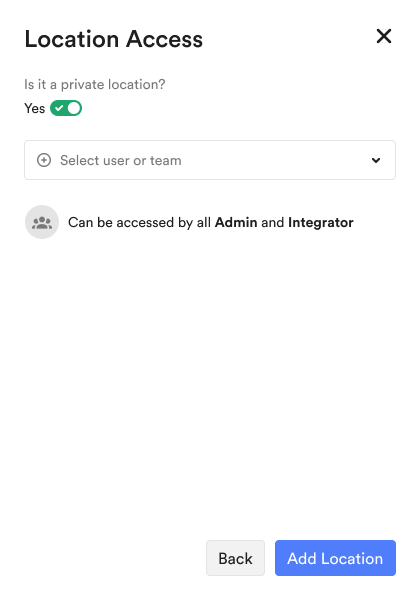
Step 2: Create a new store group name and enter store details 


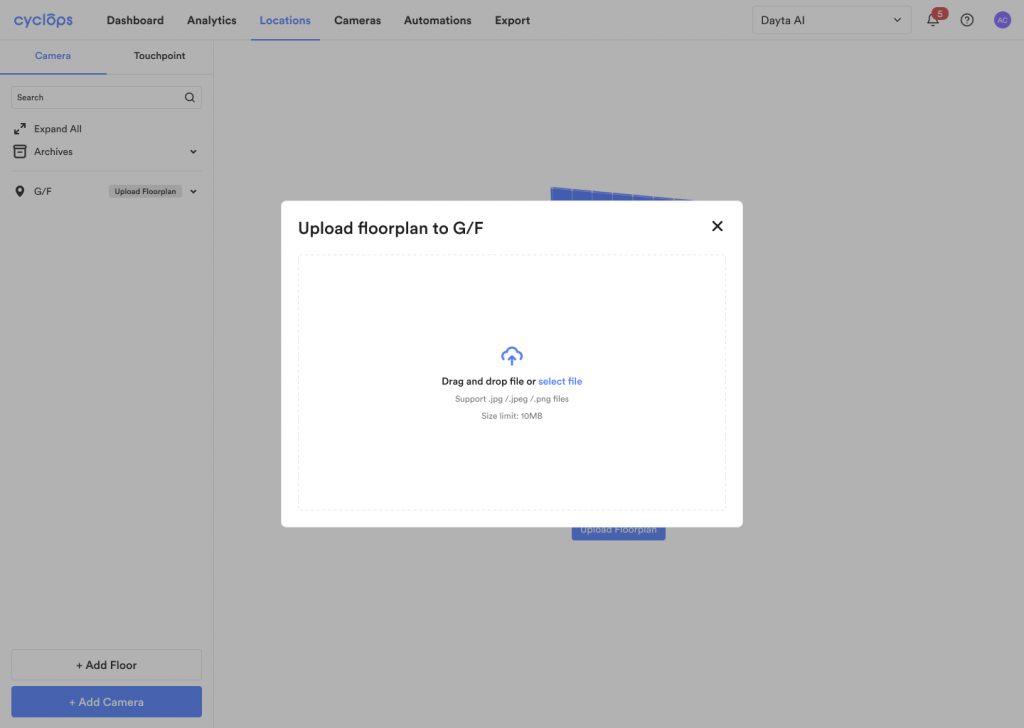
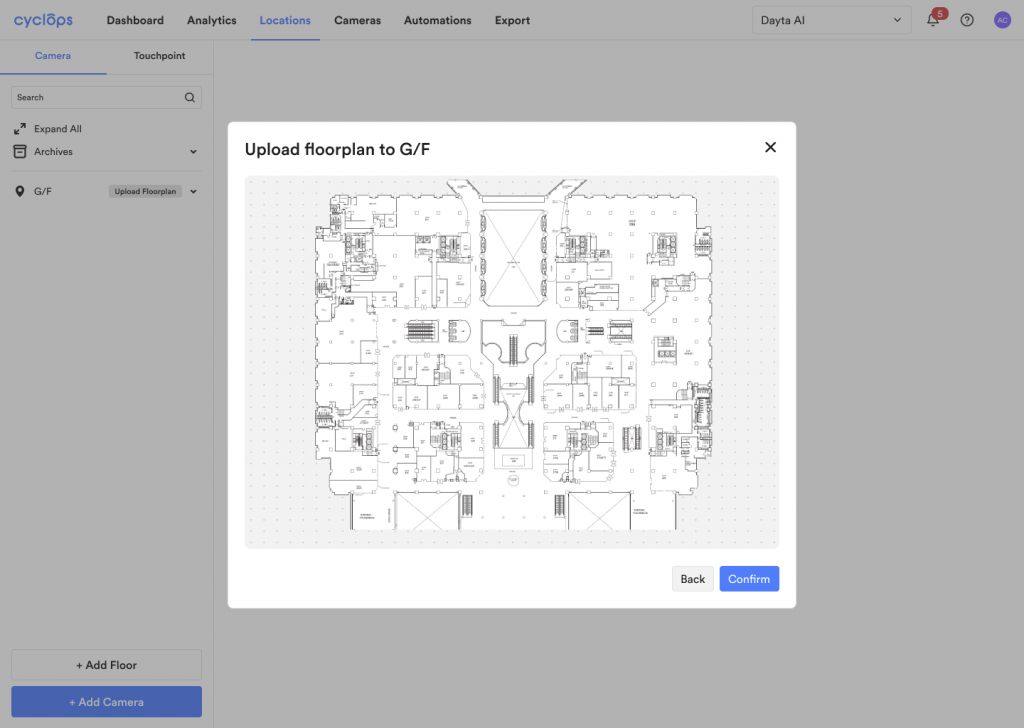
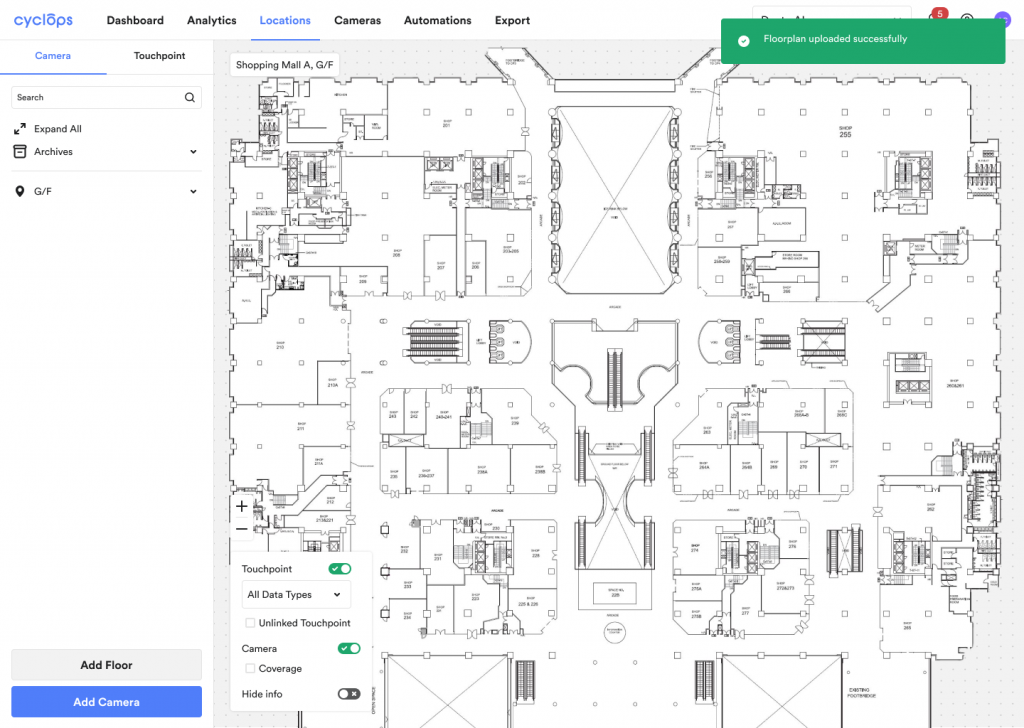
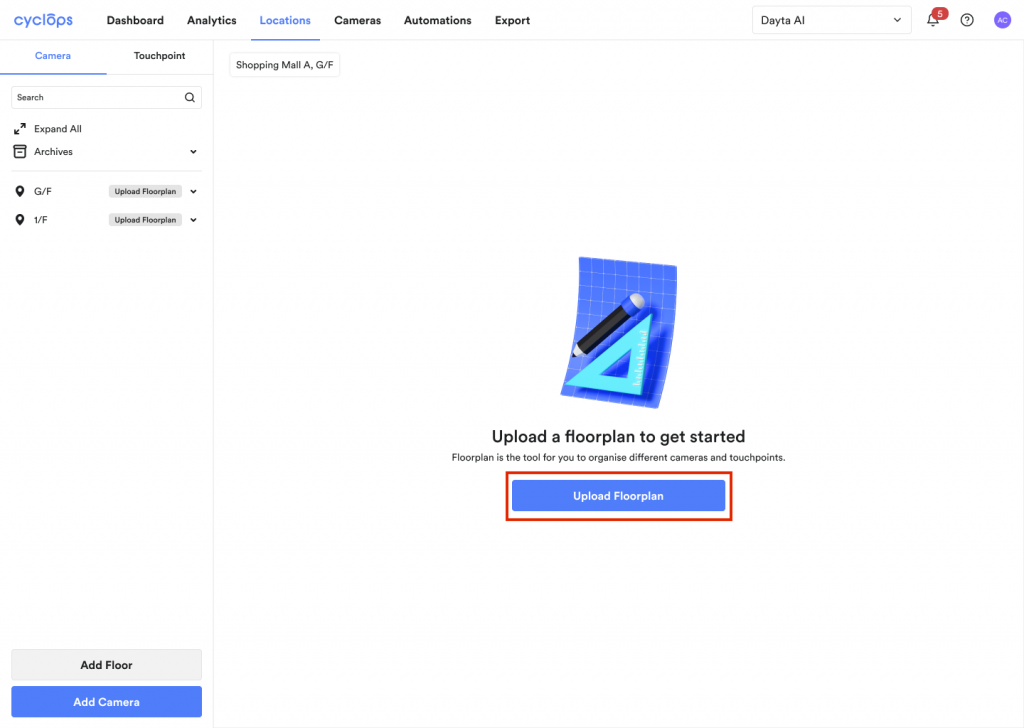
Step 3: Upload the floorplan of your store 

We only support files in .jpg, .jpeg and .png format up to 20MB


Step 4: Draw your analytics zone areas by dragging your mouse cursor and set up your cameras 


Step 5: Connect your camera to the analytics zone

Cyclops uses the RTSP stream URL of your camera to get access to the in-store video footages.


Step 6: Select and set up your preferred AI engines

The detailed setup tutorial of different AI engines are available here


Congratulations! You successfully set up the store on Cyclops

For multi-storey shops, please create a store for each floor to ensure the best user experience.

Related Questions: 

Updated on May 11, 2021

Was this article helpful?