Location is the entire physical space that you wish to collect the data from, e.g. a shop, mall, restaurant, event space etc.
Creating a location is normally the first thing you do in Cyclops to start the amazing journey. It is a simple process with only 4 steps as below.
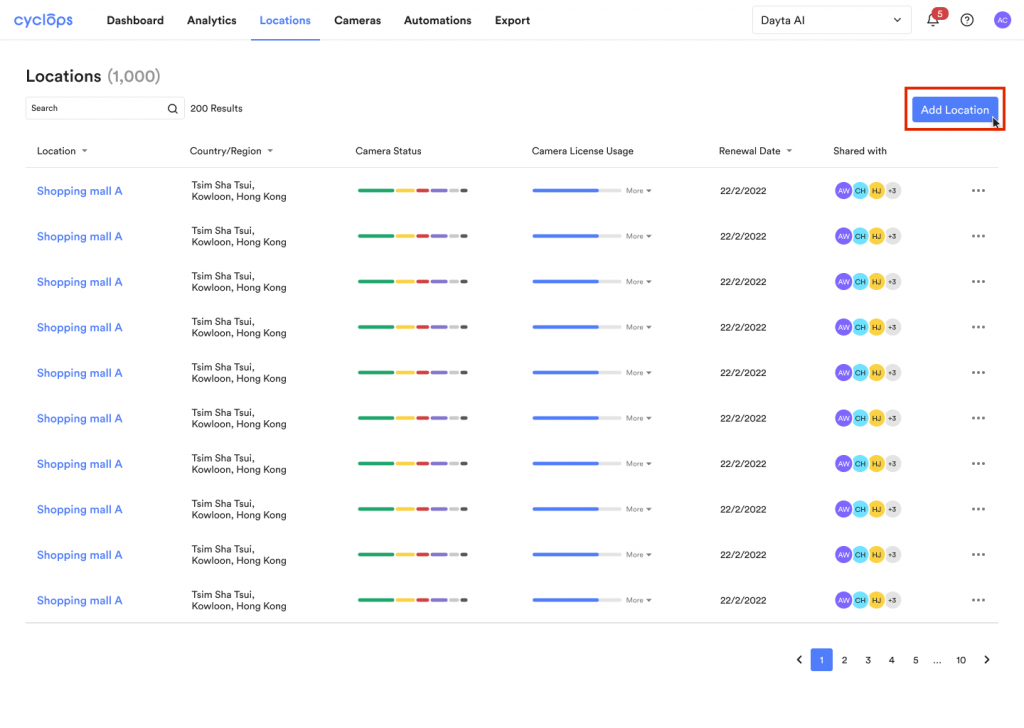
Step 1: Go to the Locations tab and click Add Locations.
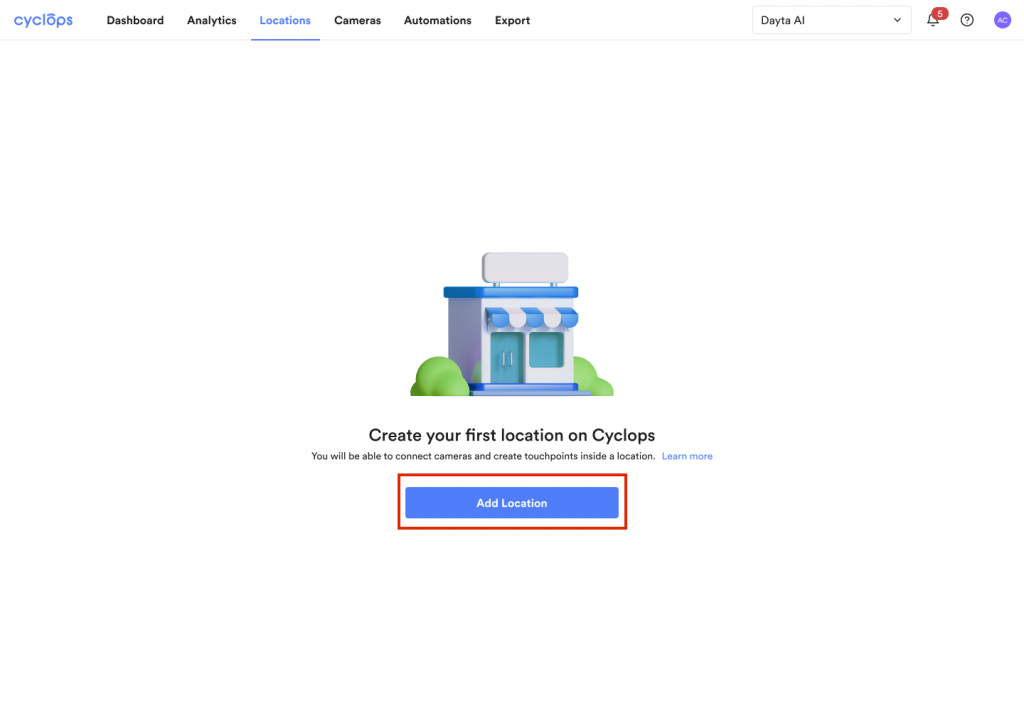
OR
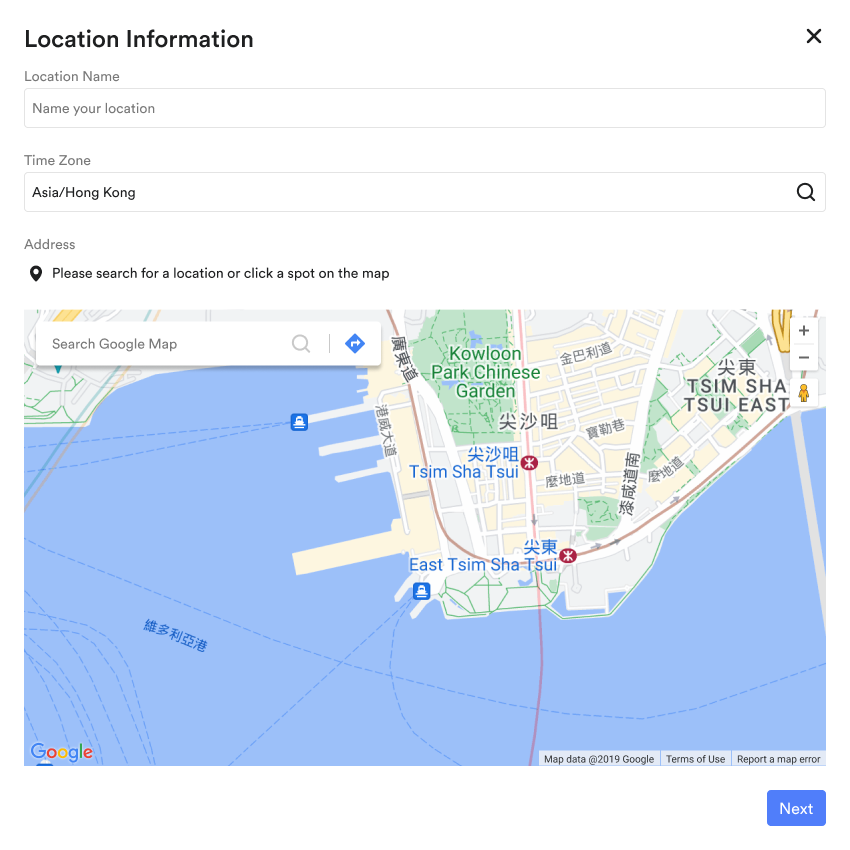
Step 2: Enter Location Information
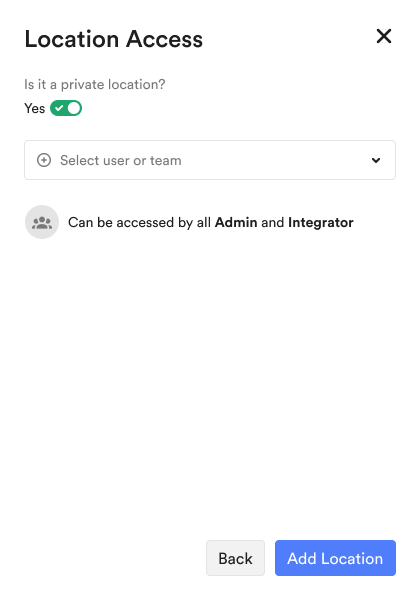
Step 3: Choose the location access.
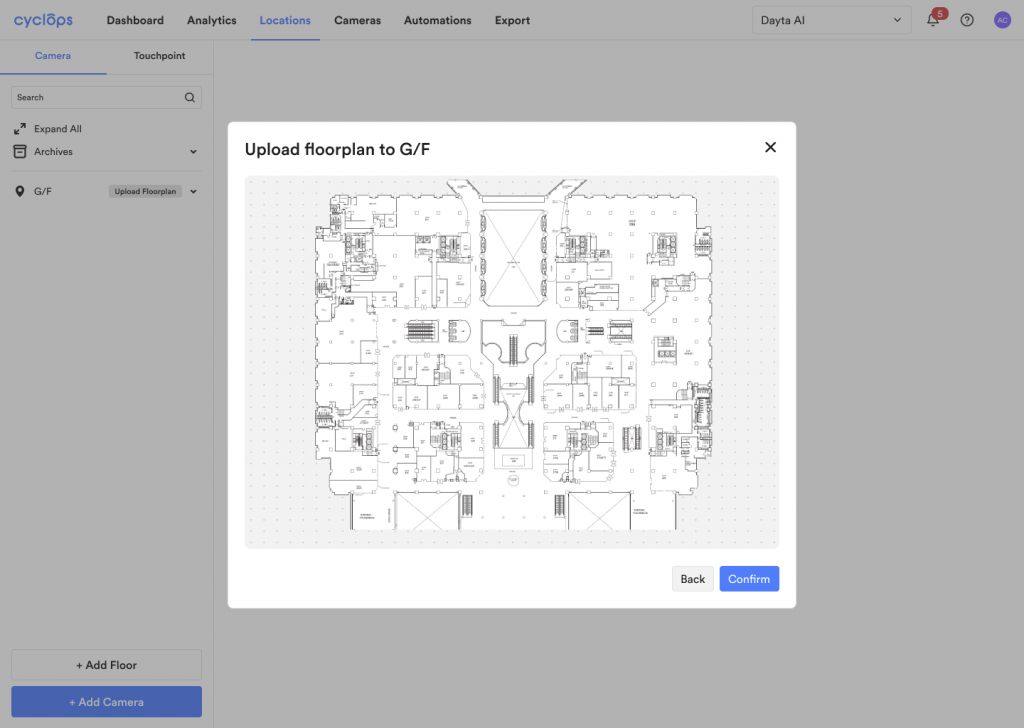
Step 4: Click [Upload Floorplan]
Step 5: Upload the floorplan file by drag and drop or select file
Step 6: Click [Confirm]
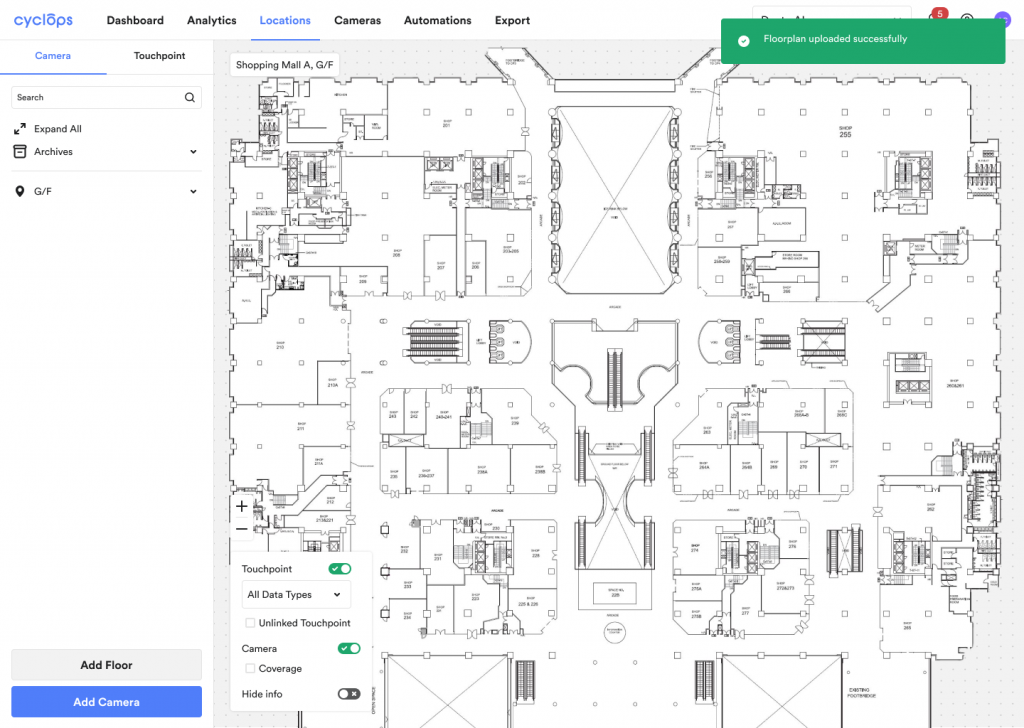
Congratulations! You have successfully set up a location on Cyclops
Next Steps:
Related Questions: