A touchpoint is a user-defined area in the location that Cyclops will perform analytics on. Creating touchpoints allows you to compare your zone performance against various indicators.
To create an touchpoint, please follow the steps below.
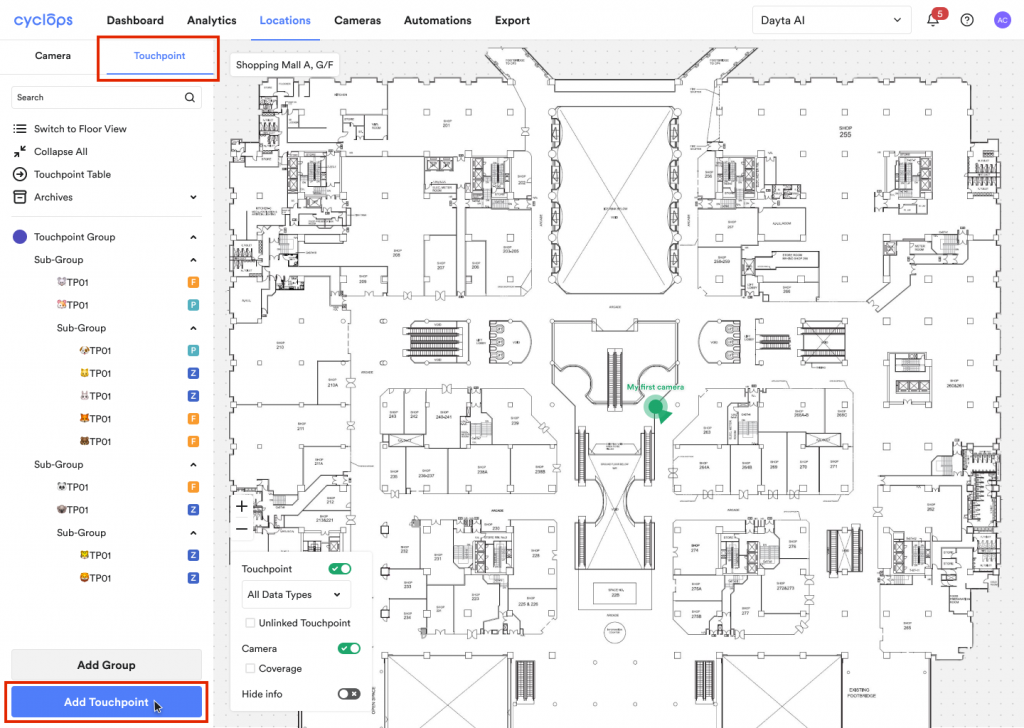
Step 1: Go to “Locations” and open the “Touchpoint” panel.
![](https://help.dayta.ai/wp-content/uploads/2023/11/Create-Custom-Touchpoint-1-1024x728.png)
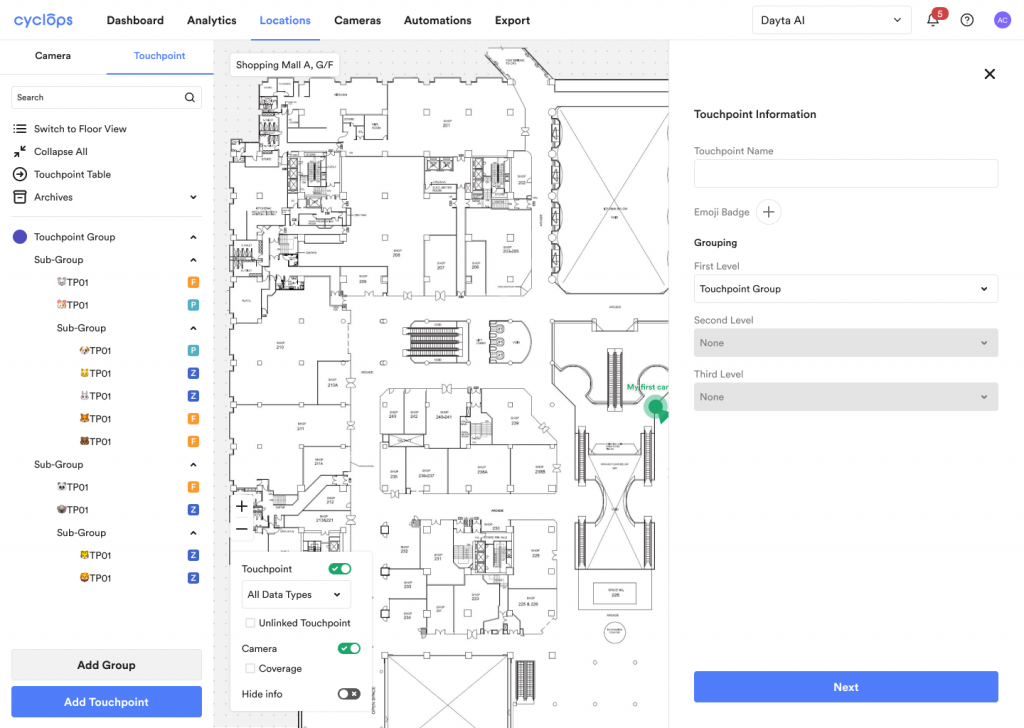
Step 2: Input Touchpoint Information
![](https://help.dayta.ai/wp-content/uploads/2023/11/Create-Custom-Touchpoint-_-Touchpoint-Library-_-Custom-TP-information-1024x728.png)
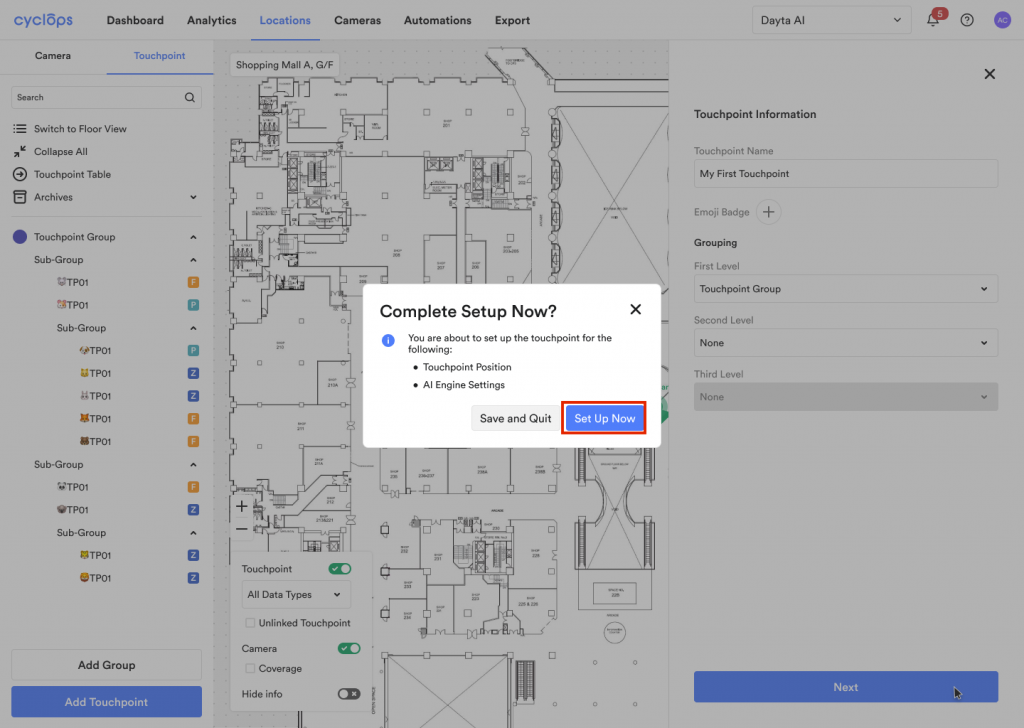
Step 3: Proceed to complete setup
![](https://help.dayta.ai/wp-content/uploads/2023/11/Add-Touchpoint-from-touchpoint-library-_-Touchpoint-Library-_-TP-information-when-sub-group-exist-_-Save-and-exit-pop-up-1024x728.png)
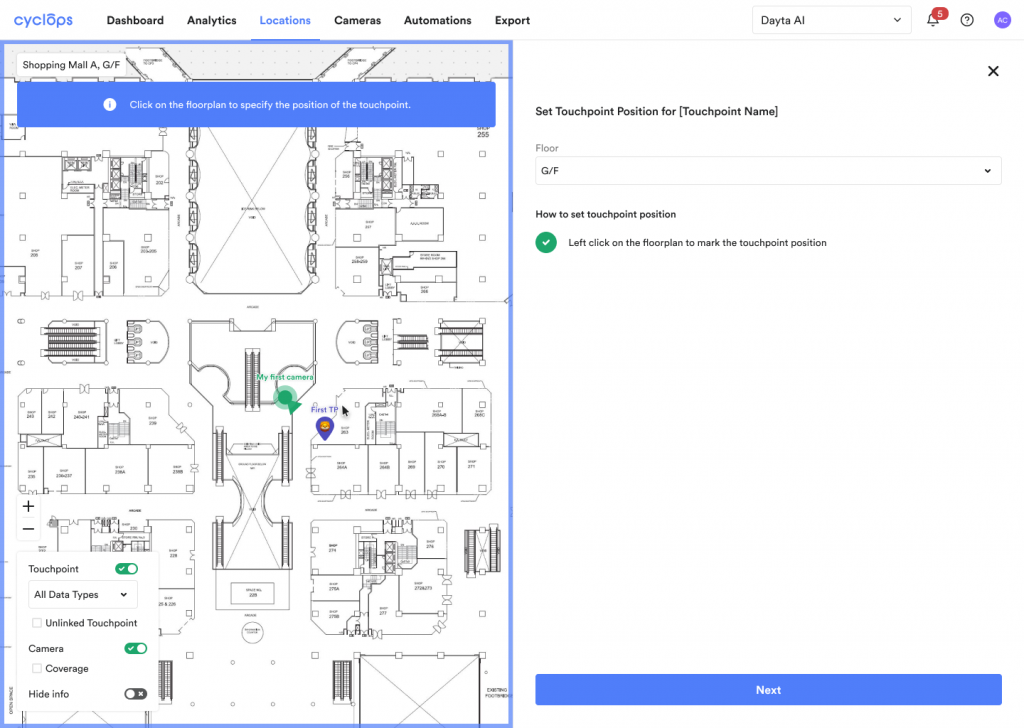
Step 4: Mark the touchpoint position on the floorplan.
![](https://help.dayta.ai/wp-content/uploads/2023/11/Add-Touchpoint-from-touchpoint-library-_-Touchpoint-Library-_-TP-information-when-sub-group-exist-_-Save-and-exit-pop-up-_-TP-Position-1024x728.png)
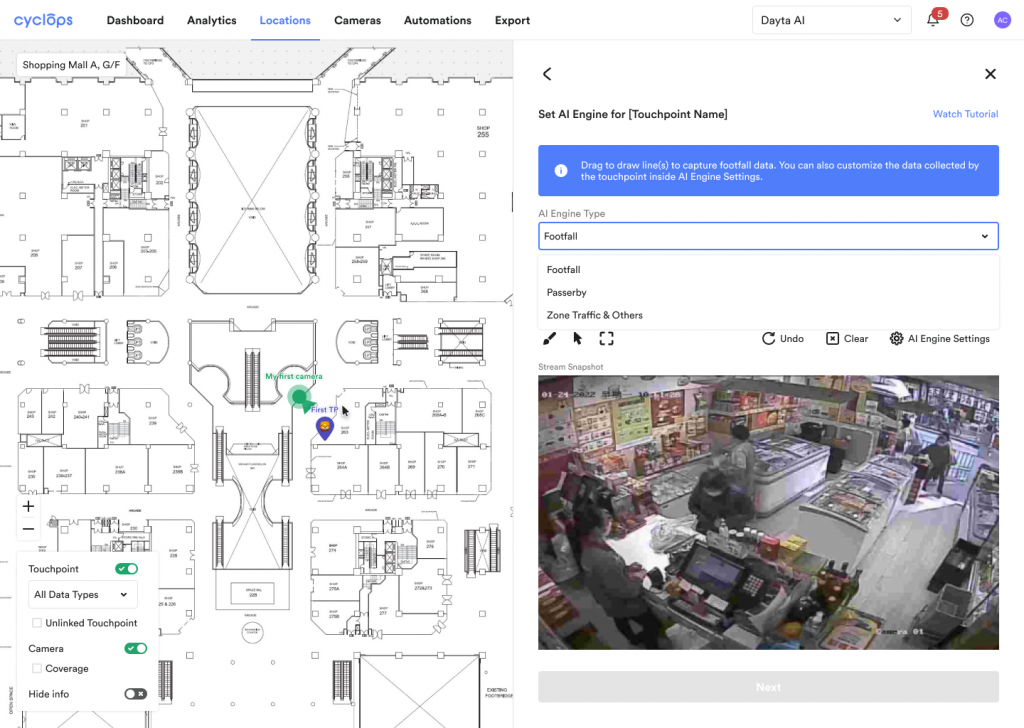
Step 5: Choose the appropriate AI Engine
![](https://help.dayta.ai/wp-content/uploads/2023/11/Create-Custom-Touchpoint-_-Touchpoint-Library-_-Custom-TP-information-_-Set-TP-position-_-AI-engine-settings-3-1024x728.png)
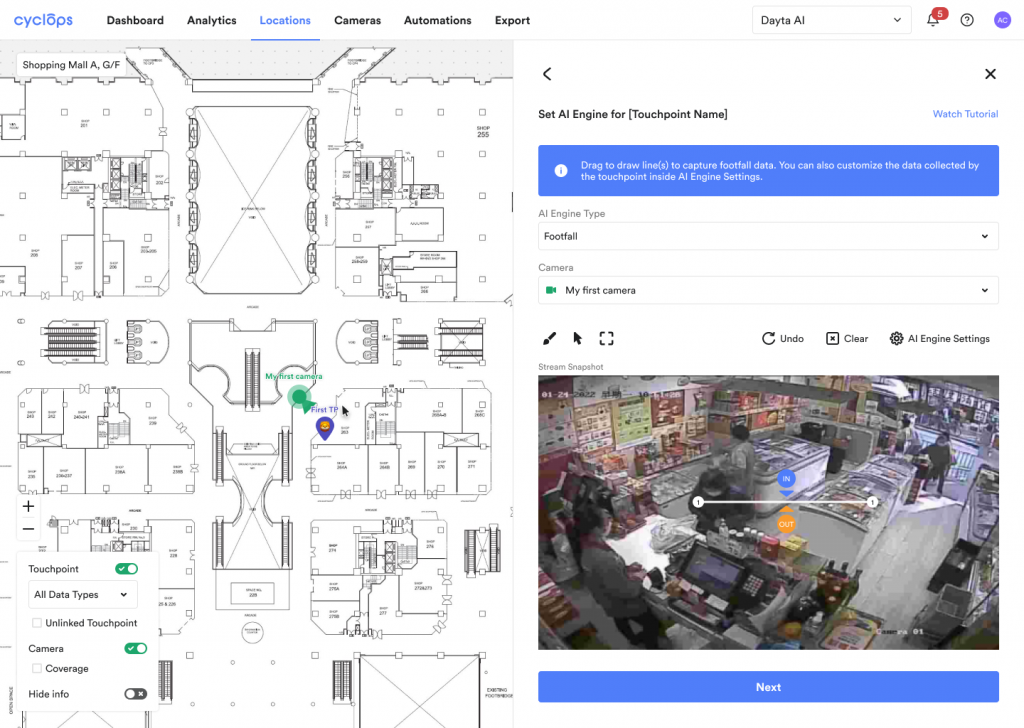
Step 6: Select the corresponding camera
![](https://help.dayta.ai/wp-content/uploads/2023/11/Create-Custom-Touchpoint-_-Touchpoint-Library-_-Custom-TP-information-_-Set-TP-position-_-AI-engine-settings-4-1024x728.png)
Step 7: Draw the touchpoint line/ zone in the stream snapshot
![](https://help.dayta.ai/wp-content/uploads/2023/11/Add-Touchpoint-from-touchpoint-library-_-Touchpoint-Library-_-TP-information-_-Set-TP-position-_-AI-engine-settingsFootfall-AI-Engine-1-1024x728.png)
Step 8: Done!
![](https://help.dayta.ai/wp-content/uploads/2023/11/Add-Touchpoint-from-touchpoint-library-_-Touchpoint-Library-_-TP-information-_-Set-TP-position-_-AI-engine-settings-_-TP-added-successfully-2-1024x728.png)
Previous Steps:
Related Questions: